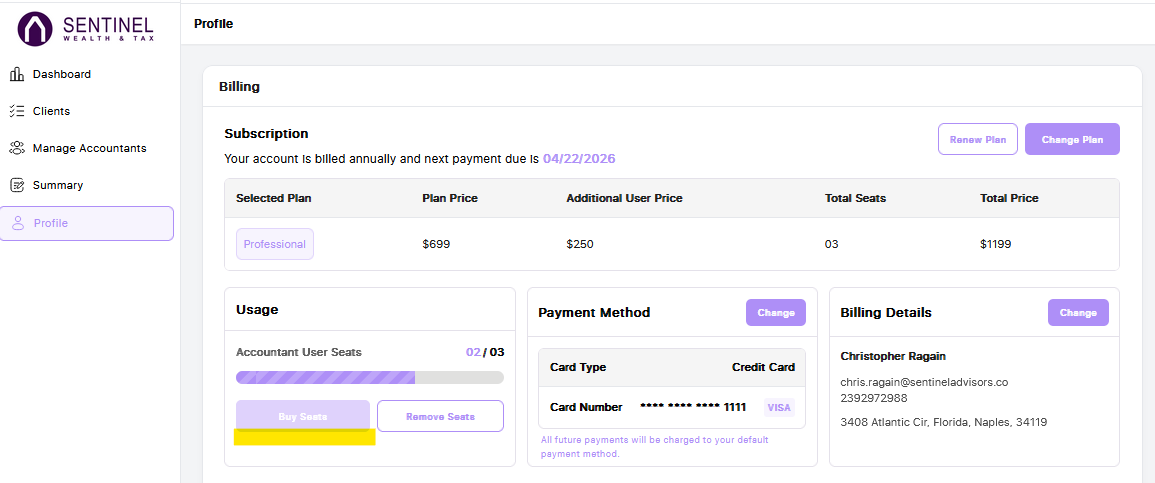
If you’d like to add additional accountant users to your subscription, navigate to the Profile tab in the Accountant Portal and click the purple 'Buy Seats' button, as shown below. You can also remove seats from this same tab whenever needed.
Next, go to the 'Manage Accountants' tab in the left-hand navigation menu and click the purple 'Add Accountant' button.

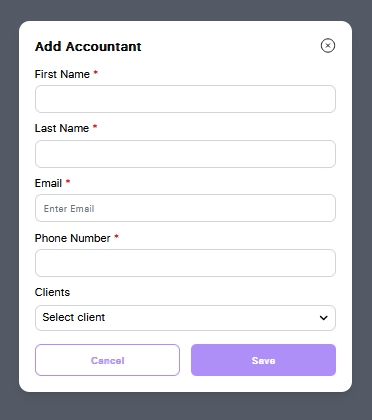
A pop-up window will appear prompting you to enter the accountant’s information, including their first and last name, email address, and phone number. You’ll also see a drop down menu where you can assign specific clients to the accountant. Once you’ve entered the details and selected the appropriate clients, click 'Save.' The list will refresh, and the accountant will receive an email with a link to set their password and log in.
To assign additional clients to an accountant user, or to update their name or phone number, click the green 'Edit' button next to their name.
The status toggle allows you to deactivate an accountant user. Once deactivated, the user will no longer be able to access the portal. Rest assured, all client data remains secure within your master accountant portal. Please note that deactivating a user does not automatically reduce the number of seats in your subscription. To adjust your total seat count, go to Profile > Billing > Usage. You can reactivate a user at any time if needed.
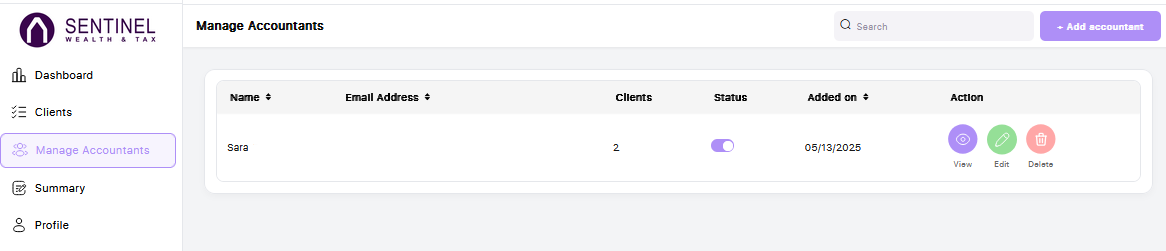
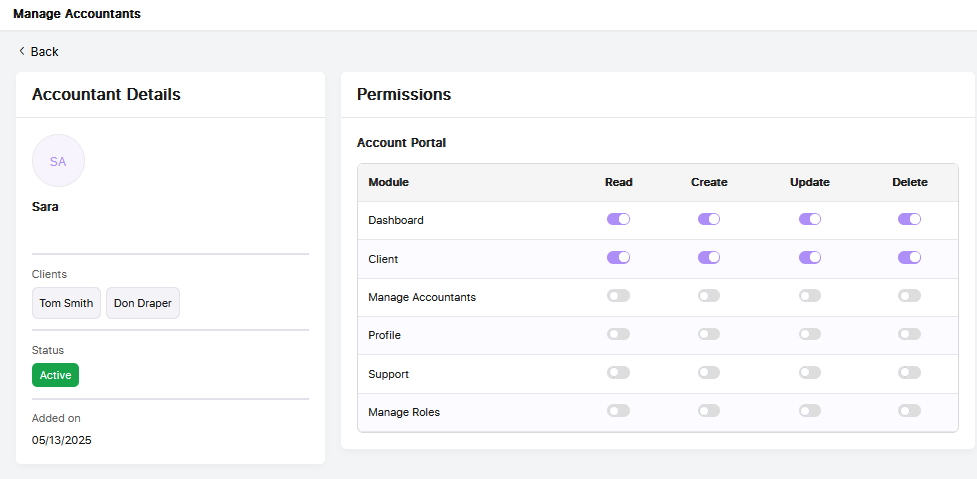
To view or update an accountant user’s access and permissions, click the purple 'View' button next to their name. From there, use the toggles to enable or disable specific permissions within the Accountant Portal.