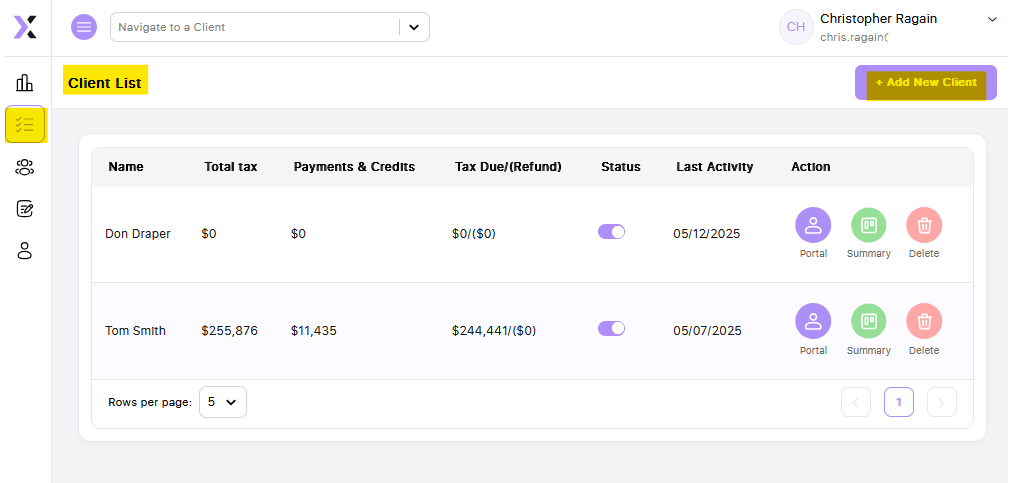
In the left-hand navigation bar, click the second icon from the top, then select the purple 'Add New Client' button.
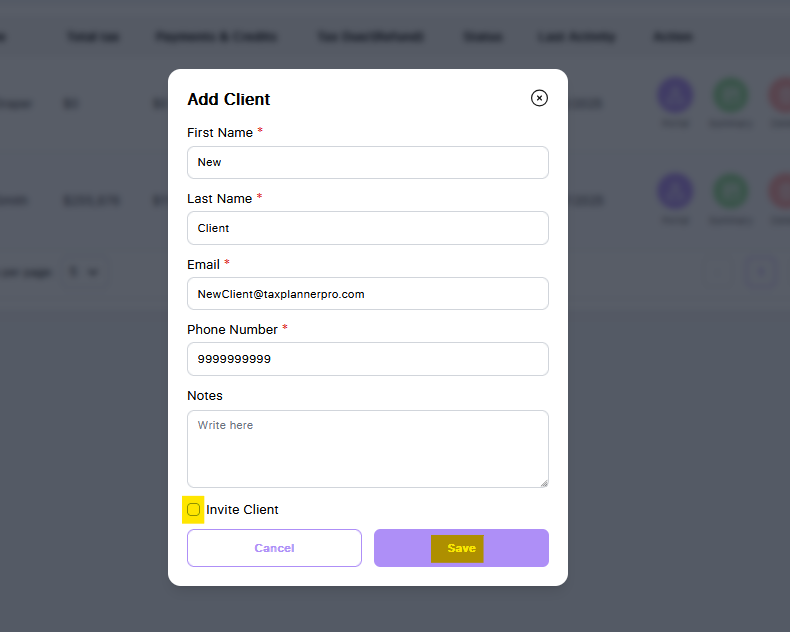
"A pop-up window will appear where you can enter your client’s details. Fields marked with a red asterisk are required. The 'Notes' field is for internal use only and will not be visible to your client. You can also choose whether to invite the client to access their portal by checking the corresponding box. Once everything is filled out, click 'Save.'
Once saved, the page will refresh and your new client will appear in the list.
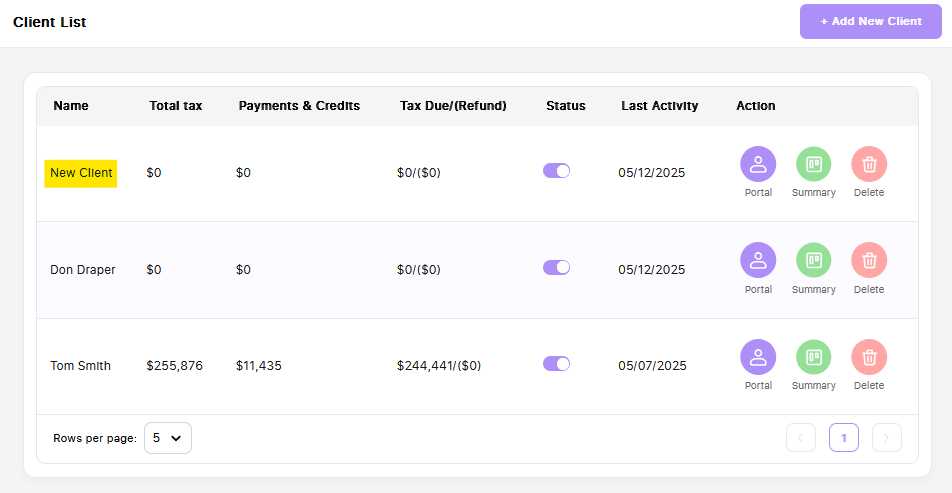
If you need to distinguish between active and inactive clients, use the 'Status' toggle to update their designation. To delete a client entirely, click the red 'Delete' button.