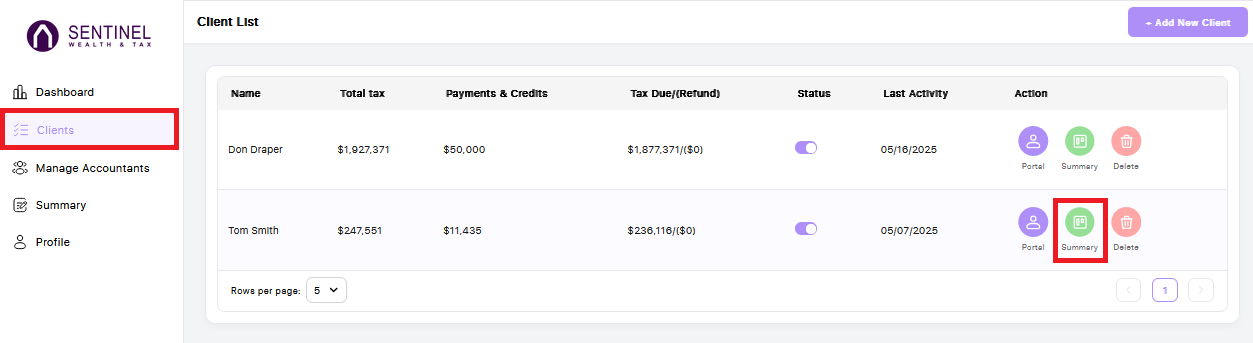
To enable or disable planners in a client’s portal, start by accessing the Clients tab from the accountant portal. Navigate to the client you want to update and click the green Summary button.
Scroll to the Client Projection Settings section. From here, you can use the checkboxes to enable or disable planners in that specific client’s portal.
-
A checked box means the planner is enabled and visible in the client’s portal.
-
An unchecked box means the planner is disabled and not visible.
To quickly enable or disable all planners at once, use the green (Enable All) and red (Disable All) buttons located under the Client Projection Settings section.
Disabled planners will not calculate in the report or be visible while ghosting in.
